
DIY: Holiday Gift Card Holders // Easy Tutorial
December 15, 2016
I have created two examples for you all to see the flexibility these gift card holders have for decorations and themes. To start your gift card holder you'll want to cut a piece of heavyweight white cardstock down to 7.5" x 6". Next, you'll want to pull out your score board and get ready to write down these measurements!

When your longest side is against the top of your scoring board, you'll score at the 2 1/4" and 5 1/4". Turn your paper so that the short end of your paper is at the top of your scoring board and score it at the 1" and 5" marks. You'll see that this scoring pattern created four of the same sized rectangles - one in each corner.

You'll want to carefully cut each of these rectangles off of the main piece. Next, fold all of your score lines in to create the envelope type shape. The bottom flap of your current envelope may not fit properly. Fold it back down and trim a tiny bit off of the bottoms of each small rectangle on both sides. It should be a very thin triangle shape that runs from the bottom right corner of the small flaps to where the small flap meets the score line of the bottom pocket flap.

In the photo above, you'll notice that there are no flaps sticking out from the pocket area. I trimmed my flaps down so they were not visible, however this is optional. Now it's time to decorate! I prefer to decorate before the pocket is formed, but that's another personal preference.

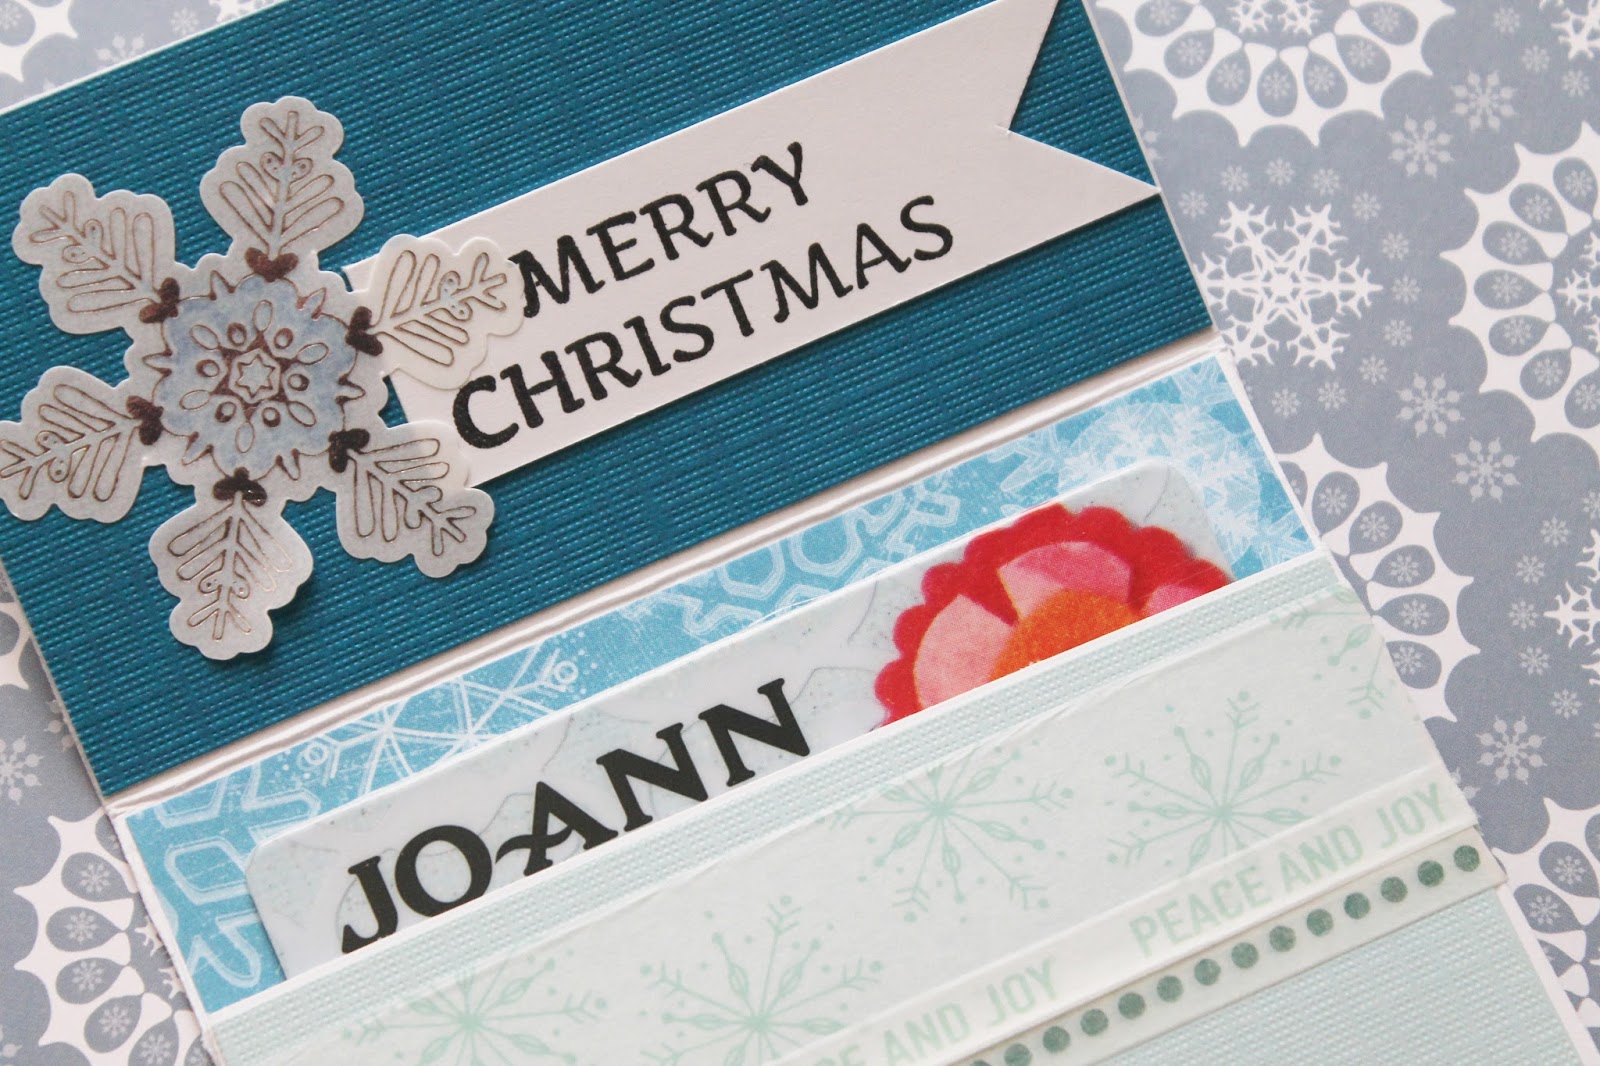
On both of these cards I used DCWV cardstock and DCWV's winter mat stack to create these cute gift card holders! I also created festive belly bands to keep the gift cad holders shut. My belly bands were 1" x 7 3/4".

I used a set of Michael's washi tape to decorate on top of the cardstock inside of the holders. On the top flap I used some EK Success snowflake stickers to add a winter touch. I used some old stamps from Studio G to add simple sentiments on the inside as well.
I hope you enjoyed this tutorial for easy DIY gift card holders! Gift cards are always a big hit for presents and these take it up to the next level! If you want to see more DIY gift ideas let me know in the comments below. Do you give out gift cards often? Thanks for stopping by!
Supplies:
Shop through Blitsy! http://blitsy.com/ref/z3m57
Shop Simon Says Stamp!
Shop through Tupelo Designs LLC! http://i.refs.cc/H3vCMoVA Neenah Heavyweight 110lb Cover Cardstock 8.5" x 11" - Solar White
from: Blitsy
Similar: DoCrafts SILVER SNOWFLAKES Outline Stickers Create Christmas Papermania 810922
from: Simon Says Stamp


0 comments
Thanks for leaving a comment! I appreciate all feedback, suggestions, questions, and comments! Don't forget that you can find me on Instagram and Facebook to get more immediate feedback!
______________________________________
Compliance with the new European Union E-Privacy Regulation:
If you leave a comment on this blog, you do so with the knowledge that your name and blog link are visible to all who visit this blog, that you have published your own personal details and that you have consented for your personal information to be displayed.
This blog is currently made in the USA.