VIDEO: 12x12 Process Video // My Cutie Pie
April 02, 2016Let's just face the truth, I hate cutting into pretty papers, but I knew that I couldn't use every piece of 12x12 paper as a background paper. Today, I took a leap and made a very large incision (by hand) into this gorgeous Dear Lizzy floral paper. I know what you're thinking, "she must be crazy", but let me tell you, the outcome was gorgeous!
This probably wouldn't be nearly as terrifying to someone who has a machine to cut it for them, but I eye-balled mine and it came out pretty well I'd say! You'll see how I cut it out in the video (which was a scary moment), but here's the completed layout.
I know, you probably weren't expecting something like this, but yes, I cut the center of my paper out. No need to fret though! I will use the circle on another layout and it shall not go to waste! So, as I said before this floral paper is by Dear Lizzy and from the Day Dreamer paper pad (which I am in love with!). I cut out the circle and then used an ugly thin piece of patterned paper for the backing to create the center.
The photo in this layout is of my cat and I, her name is Honey. I took this photo and made it black and white for a couple of reasons. One, my phone has a poor quality front-facing camera and two, because it makes the photo a whole heck of a lot less busy. Plus, how adorable are these precious large eyes on her tiny little head?! I love her so much. So, I decided to use "My Cutie Pie" for the title. She is quite the cutie pie! The script font stickers are by Sticko and the block letters are from Studio 112. Arrow stamp is by Heidi Swapp and the "happy place" stamp is by Dear Lizzy. All products will be linked down below if still available.
Once I had decided that I wanted to anchor my photo to the left side of the layout and put my title on the right side, I began to form my clusters! Now, I'll be honest, this was a really long layout process for me (about an hour). Granted, I had no pre-planning what so ever besides picking out the photo and background paper (I want you to be able to experience as much of the process as possible). Now for where all these little cluster pieces are from! The chipboard piece is from Dear Lizzy, the gold heart is from K&Company, the "XO" stamp is by Heidi Swapp (stamped in Memento Tuxedo Black ink). the gold pearls are from Michael's, the polaroid cutouts are from Dear Lizzy 5th & Frolic 6x6, the pink paper circle (which is kinda covered up) is from KI Memories. Phew, that was a mouthful!
Another view of the same cluster, but it has other products I should mention. The feather sticker that you see is from Pretty Little Studios (I loved my last order from them!), the gold star is from Heidi Swapp, the little blue/mint heart sticker is also from PLS, and then the word sticker is by Tim Holtz!
As we move up the page you can see that I used some of this darling twine that I got at Target on clearance for .90! Yes only 90 cents for a giant roll of it! I just tied it in a cute bow to cover up a seam. You can also see the paper I used to layer behind my photo which is from Crate Paper Notes & Things 6x6. I hope you all aren't getting tired of this post! It's getting quite lengthy, but stick in there!
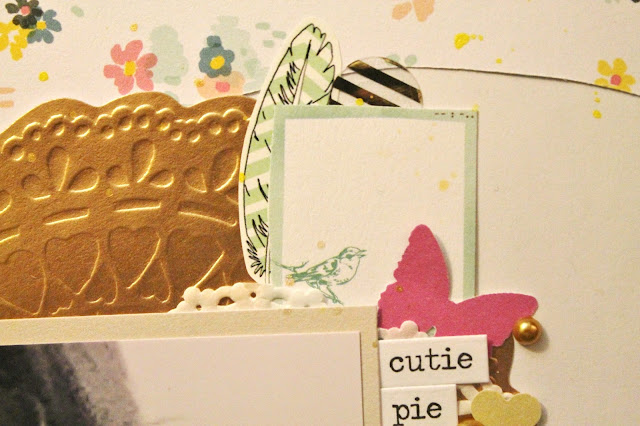
Last, but certainly not least, is my other cluster on the top right of the photo (to help give some balance). This one is made up of some of the same bits and pieces as the other, but I'll point out some of the products. The doily that is peaking out is from Wilton, the butterfly punch is from Martha Stewart (I swear that I use a butterfly on every layout), the little heart punch is from the Paper Studio, and then the gold doily piece is from K&Company as well. As always I hope you enjoyed this layout and the process video below! If you have any questions or suggestions I would love to hear them! Thank you so much for stopping by!
*Purchasing through these links is part of an affiliate program and I will receive a small portion of the sale at no additional cost to you*


2 comments
Lovely lay out! I like the idea of using the circle in another layout. I like spreading the love between projects as much as possible!
ReplyDeleteThank you so much Kristie! I actually just used that circle on another layout the other day! It'll be on the blog soon. ;) Thanks for stopping by!
DeleteThanks for leaving a comment! I appreciate all feedback, suggestions, questions, and comments! Don't forget that you can find me on Instagram and Facebook to get more immediate feedback!
______________________________________
Compliance with the new European Union E-Privacy Regulation:
If you leave a comment on this blog, you do so with the knowledge that your name and blog link are visible to all who visit this blog, that you have published your own personal details and that you have consented for your personal information to be displayed.
This blog is currently made in the USA.