
VIDEO: Stretch Your Stash // Punches to Make Shaker Windows
February 04, 2017
Hello everyone! Today, I have something that was so much fun to come up with that I needed to share it right away! The Stretch Your Stash video tutorial will give you a better grasp on how I actually did it, but I will leave some more tips and tricks sprinkled throughout this post to get some better results! Let's jump right into what you might need to create some shaker windows on your layout!

My goal for this layout was to create shaker windows that worked with the entire layout. Little did I know, that this would be quite difficult! I decided that since punches are the easiest way for me to create shaker windows, that it would be nice to share it with you! So, grab your favorite punches, some foam sheets, and your sequins! Let's jump right in!
I hope that video tutorial made sense. It's easier to watch the technique sometimes over reading about it and then attempting to replicate it. I started this layout by picking out my background paper. I have had this DCWV polka dot paper for at least five years, it was time it finally stopped collecting dust! I used it's color scheme to help select my photos and then the rest of the elements I eventually used. My dark green patterned paper is from Kathy Davis' Journey 6x6 paper pad. Originally, this was going to be a 6x6 Fix series layout, but it took a different direction.

My second favorite portion of this layout (only because the shaker windows are my absolute favorite) is the title cluster! The whimsical feeling of the title die cut mixed with the Wilton doily, the teal tag from Recollections, and the frame die cut from Pink Paislee's Citrus Bliss is so perfect! I added a few more details including a wood veneer star from Studio Calico and some Tim Holtz tiny phrase stickers. If I was going to change anything about this layout, it would probably be to add a few sequins around the title area for a touch more pizzazz.
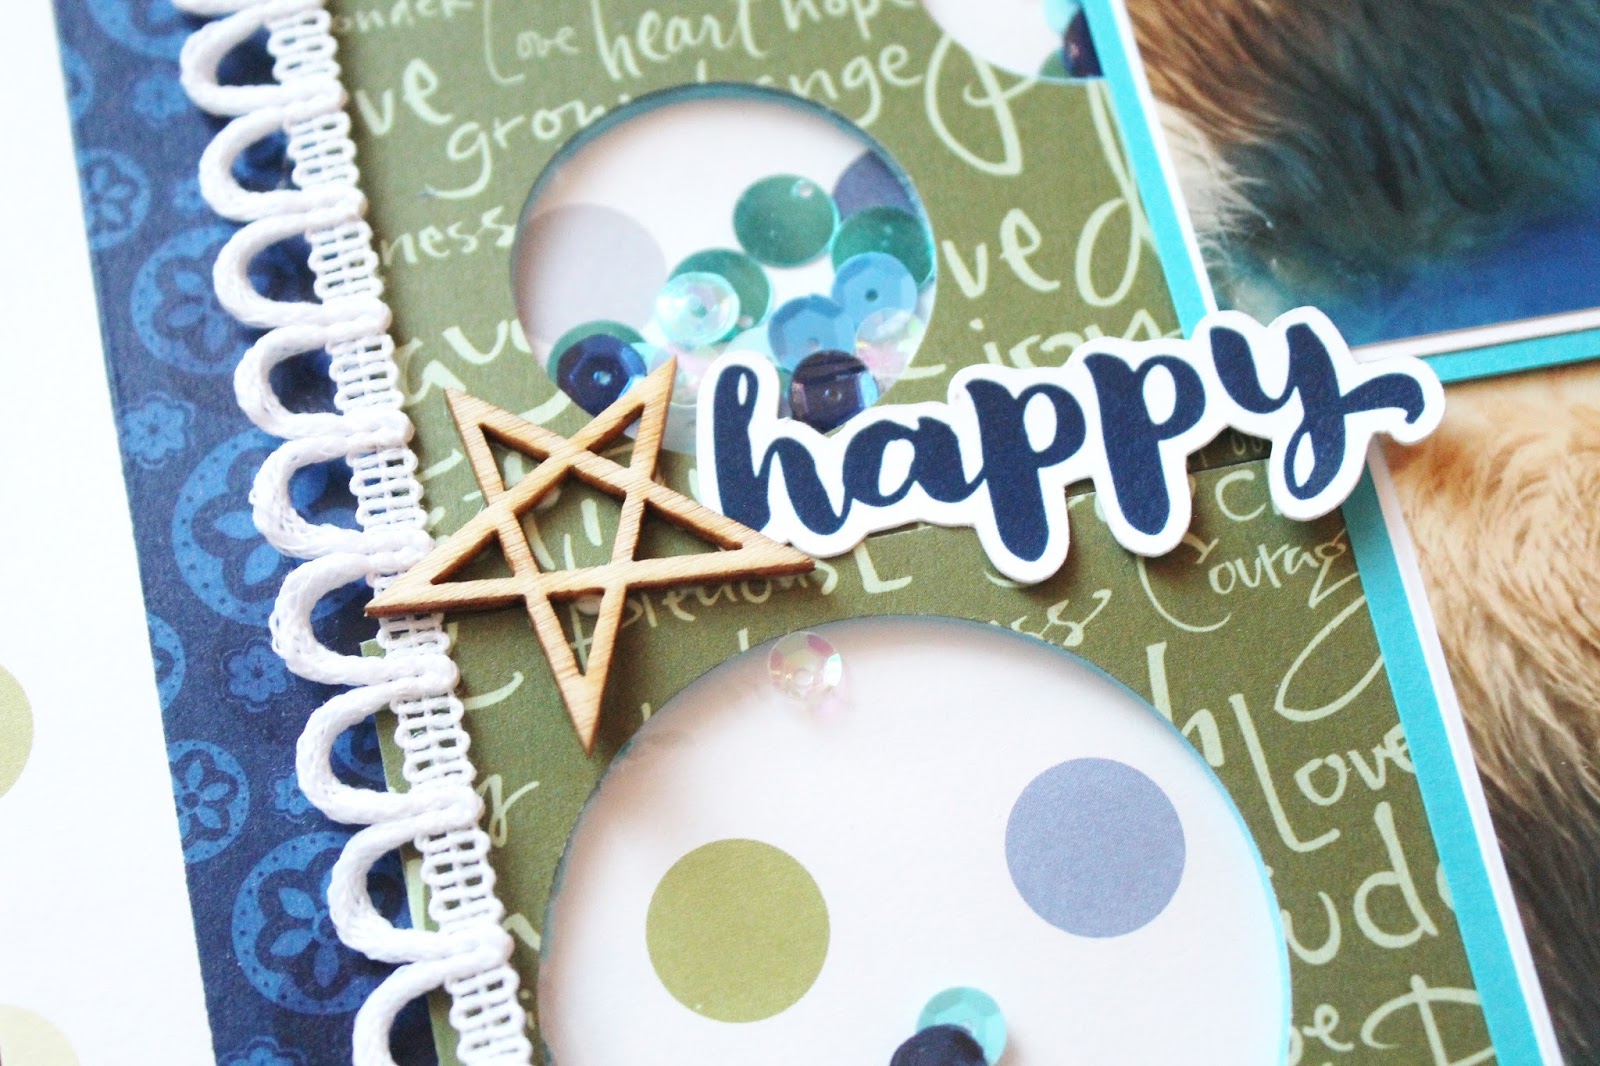
There were quite a few blemishes on the shaker window area (that you can see in the video) that needed some covering up. I covered the seam between the two piece of paper by using a Pretty Little Studio die cut word and another Studio Calico wood veneer. The die cut is perfect because it helps bring the navy from the title piece over to the other side of the layout, creating a balance.

Here are a couple tips that could help your shaker windows go a little more smoothly. One, make more pencil marks! I wish I would've been more careful and lighter with my markings, but I definitely didn't have enough because everything turned out a touch wonky. However, it wasn't ruined. Be lenient with yourself. If it isn't perfectly straight (like mine) use something to cover it up instead of throwing all of your hard work away. Two, get thicker foam, but be warned. A few of my punches could barely cut the cheap foam I had, let alone if I had a thicker piece of it. Use thicker foam if you can so you can add more shaker bits, otherwise you can always double it up!

My shaker bits are from a variety of places. I used some Kat Scrappiness, Darice, and DoCraft to create a custom sequin mixture! In some of my photos (like the one above) you'll be able to see that the foam peaks out. To remedy this, you could use white foam, so it is less noticeable, or use a foam that closely matches the color of your top patterned paper. I choose something that was in my color scheme at the very least.

This layout was so much fun to make! I hope you enjoyed watching my struggle with shaker bits, but these windows make the whole layout pop! If you have any questions or suggestions, let me know! Thanks for stopping by!
Supplies:
Shop through Blitsy! http://blitsy.com/ref/z3m57
Shop Simon Says Stamp!
Shop through Tupelo Designs LLC! http://i.refs.cc/H3vCMoVA 


0 comments
Thanks for leaving a comment! I appreciate all feedback, suggestions, questions, and comments! Don't forget that you can find me on Instagram and Facebook to get more immediate feedback!
______________________________________
Compliance with the new European Union E-Privacy Regulation:
If you leave a comment on this blog, you do so with the knowledge that your name and blog link are visible to all who visit this blog, that you have published your own personal details and that you have consented for your personal information to be displayed.
This blog is currently made in the USA.