Crafty people, welcome back! I am very excited about the layout I am sharing today because it also marks the return of one of my favorite series on my YouTube channel, Stretch Your Stash! In this series I share innovative ways to use items in your stash. I've covered several topics already including eyelets, letter stickers, and punches. Today we are tackling our wood veneer stash. Sometimes your stash can be overwhelming and I'm sharing how I try to use up my stash in creative ways. Let's jump right in.

This layout begins with an awesome background paper. This woodgrain from Craft Smith Co. provides so much texture and depth without being too busy. I wanted the wood veneer to really pop and this paper helped immensely. Let's dive in to the process of this awesome layout!
This is a super easy layout to scraplift. I'd love to see your take on featuring your wood veneer on a page. If you have trouble with layering or design concepts I'll walk you through some of the tips I have to create a layout like this one.

My first tip is to stick with a simple color scheme. As you can see here I chose to go with blue, teal, and varying natural shades, and a few metallics. When you start mixing in a lot of colors it can become very overwhelming. After deciding a color scheme I start thinking about texture. I talk about texture a lot in my videos, if you would like a full video on explaining texture as a design element I will gladly film one!

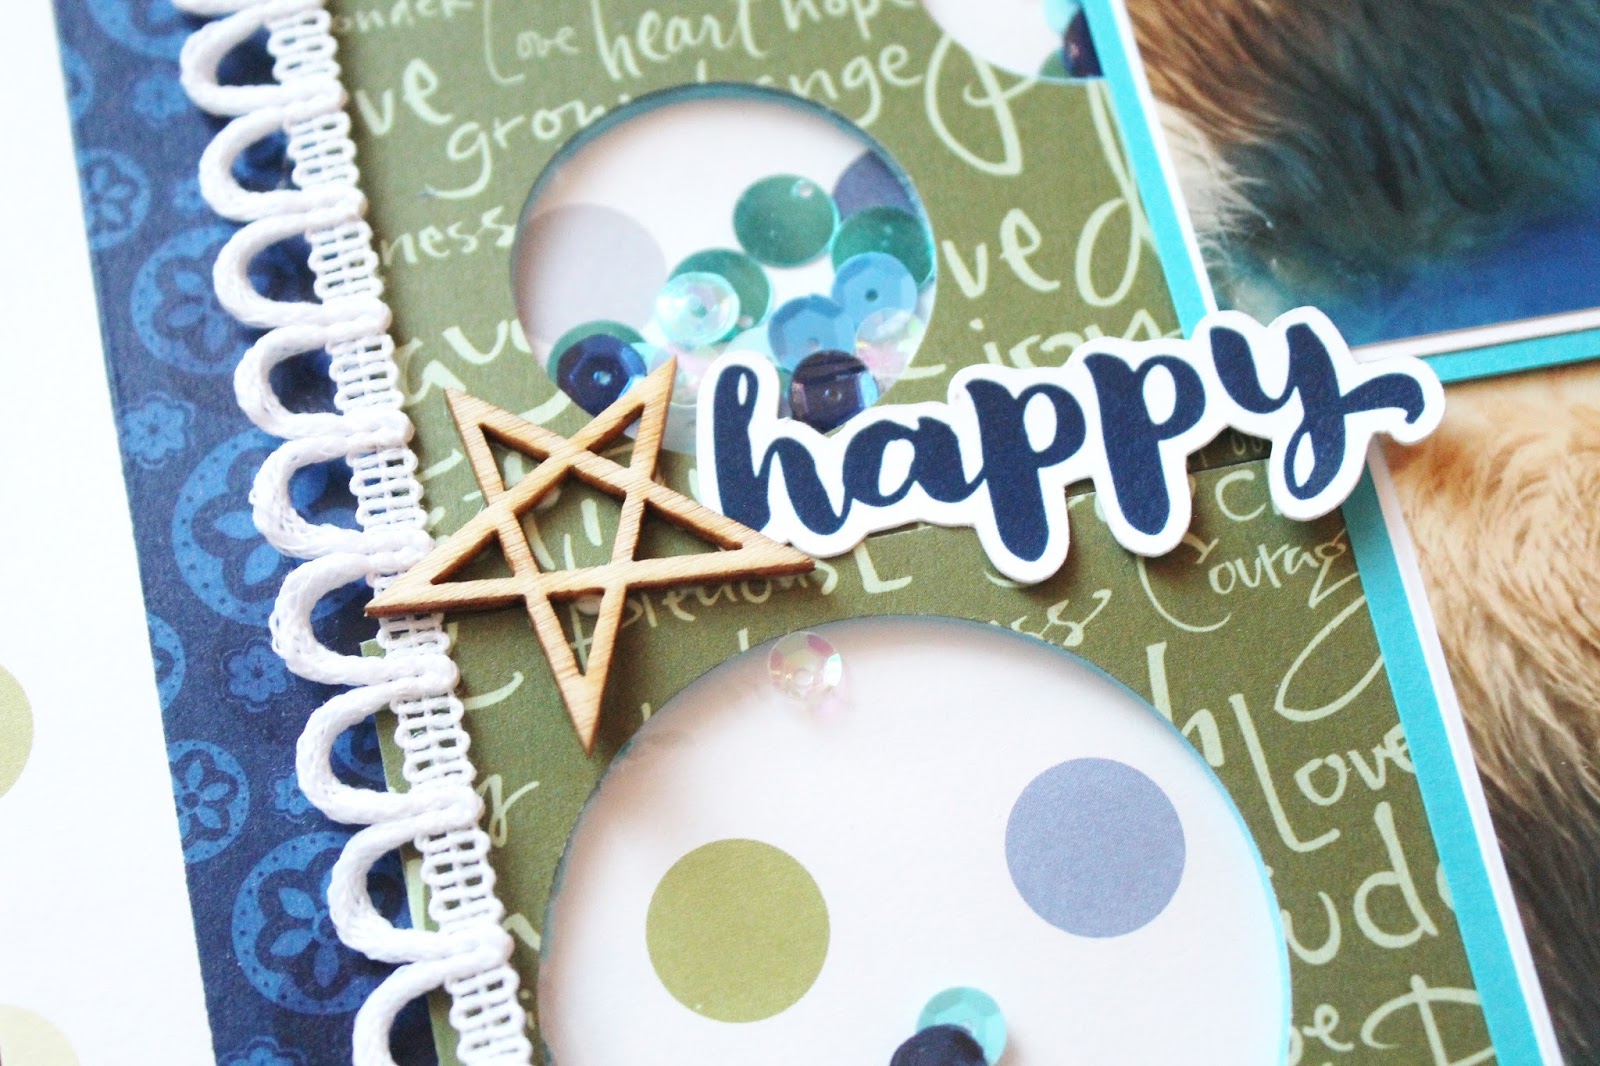
In these photos you can start to get a gist of what I mean when I refer to texture. In the photo above we have varying textures including paper, metallic foil, transparency material, staples, shiny enamel, and wood. That is definitely some eye candy. Now, when making your layouts, try not to overthink it, but when you feel the need that your cluster may need one more thing, try adding a different texture in to the mix.

My paper layers are minimal on this layout, but the focus is truly the small embellishments. I used so many different brands on this layout that I have a feeling the supply list down below is going to be so long! One of my absolute favorite things about the creative process is the mixing and matching of collections. I know that I am creating something really unique. What's your favorite thing about the creative process?

When laying out all of the wood veneer, I tried to vary the icon type, size, and sometimes color. I think this Stretch Your Stash idea would be a great opportunity to alter the wood veneer with paint. There is tons of inspiration for wood veneer layouts on Pinterest, but don't get too distracted by all of the inspiration!

I also think that this type of layout is super fast to put together. Just throw some wood veneer on a page and a couple of clusters of embellishments around your photo and ta-da! I think I'll be revisiting this type of layout sometime in the near future as well.

This is definitely one of my favorite layouts of this month. What have you been working on lately? I hope you're still following and holding up those crafty New Years Resolutions! Thanks for stopping by!
Supplies:
Shop at Blitsy!
Shop at Simon Says Stamp!
Shop at Tupelo Designs LLC!American Crafts Pink Paislee C'est La Vie Ephemera
Boys Fort Wood Stickers 20/Pkg-Buttons
Studio Calico - Noted Wood Veneer Birds
Studio Calico 24-Piece Wanderlust Wooden Button Embellishments
Studio Calico Wood Veneer Cameras
Similar: Studio Calico Classic Wood Veneer Butterflies
Similar: Jillibean Soup Bowl of Dreams Wood Veneer Embellishments
Similar: Butterflies Shaker Wood Veneer Fillers
from: Blitsy
Tiny Attacher by Tim Holtz Idea-ology, 6-3/4 Inches, Includes 100 Staples, Plastic and Metal, TH92800
- January 18, 2018
- 2 Comments