
VIDEO: Stretch Your Stash // Project Life Cards into Greeting Cards
January 28, 2017Hello everyone! Today on the blog I have a couple really easy projects to share with you. If you're anything like me, you love to buy pocket page cards (PL cards). They're all so cute and inexpensive! Since we tend to get a few duplicates of each, I decided that it would be fun to turn some of my extras into Valentine's Day cards. So I'll show you a couple examples on how to stretch your Project Life card stash! I hope you enjoy!

The pocket page cards that I use are from a variety of sources. Some are Project Life brand, some Heidi Swapp, but the first one I use is from We R Memory Keepers. If you think about Valentine's Day cards, they are about telling your loved ones how much they mean to you. So while I was sifting through my stash trying to find ones that fit, this one oddly stuck out to me. It was perfect! A super non-traditional valentine sentiment, but still in line with the point of the day. I hope you enjoy my tutorial on making these various cards!
These cards are fairly simple. I wanted scrappers and card makers to both be inspired. So, I didn't use many card making specific supplies in order to encourage scrappers to feel like this was easy and doable with their stash. I hope you think these are easy cards and that you give them a try! This type of method can be applied to birthday cards, Christmas cards, and more! Take a look at your stash differently and you'll feel more inspired!
The first card features Pink Paislee's Citrus Bliss as the background paper and a Wilton doily to add texture. I also used Heidi Swapp Color Shine in the color peacock blue to add splatters and stain a wood veneer piece to match. Very simplistic and easy to make a bunch!

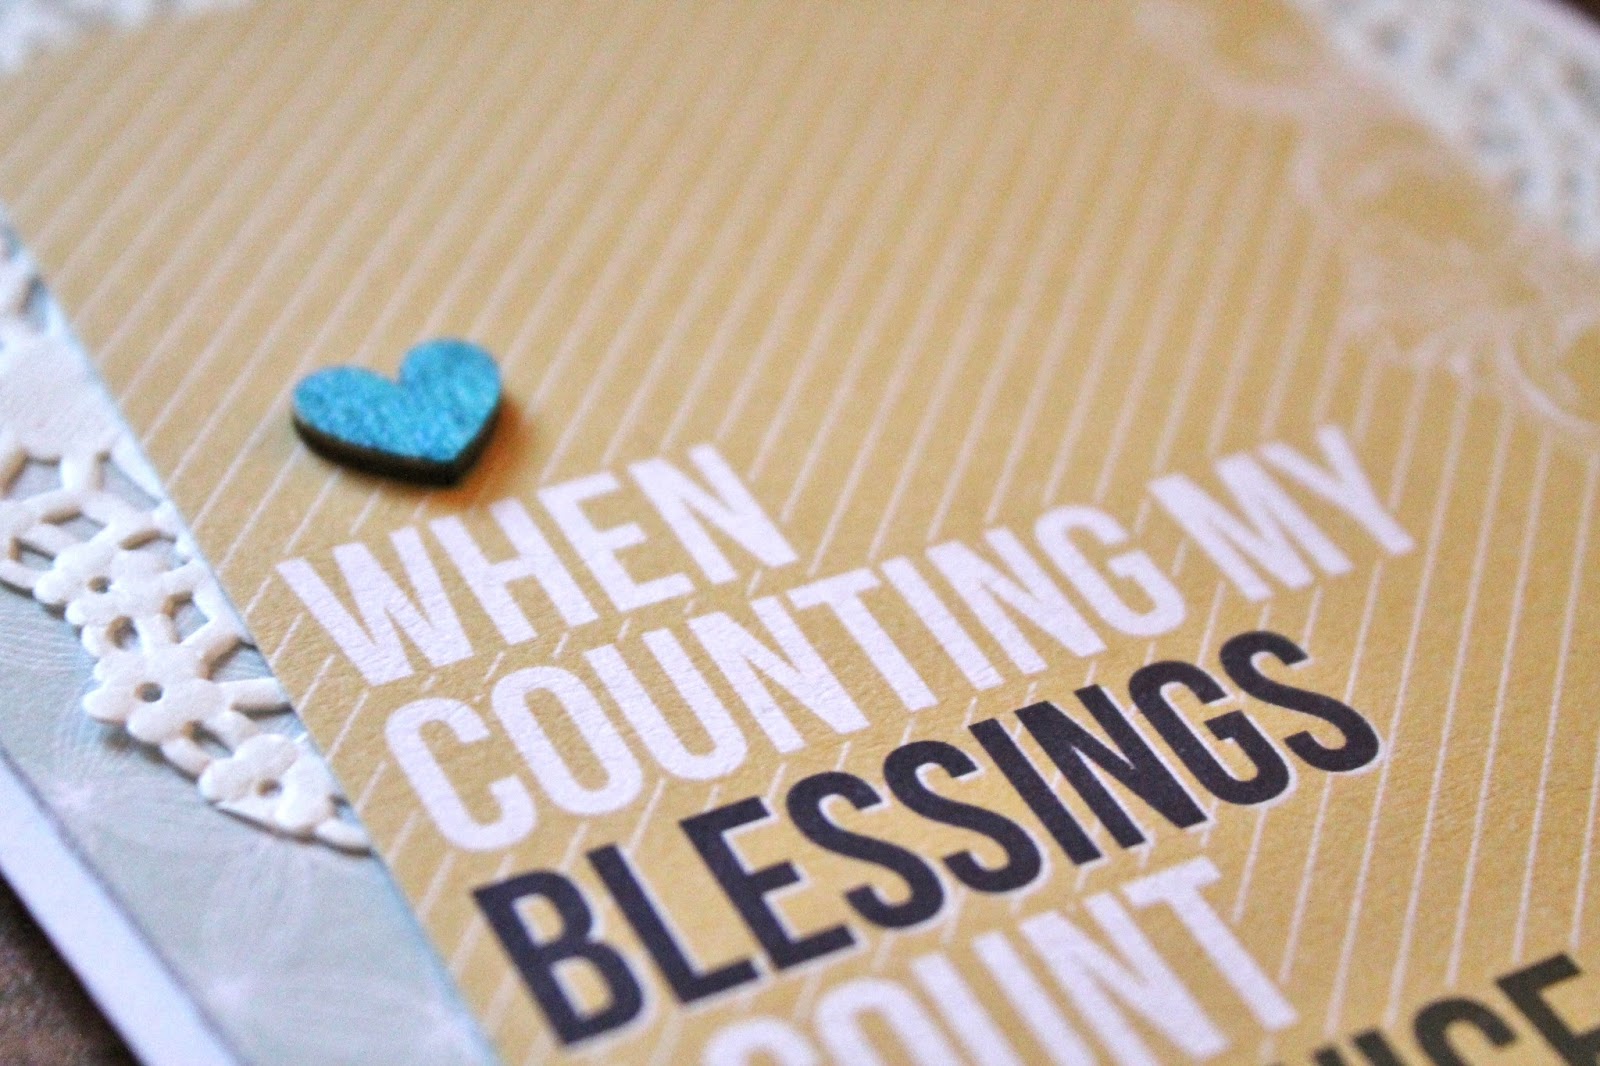
I love, love, love the way this next card turned out! I used Pebbles Valentine's Day collection as my patterned paper backdrop. I used a kraft and gold foiled Heidi Swapp PL card to add some needed contrast and make a place for my sentiment. I based the rest of my color scheme on that background paper with all of the little icons and saying on it.

I knew I needed a sentiment for this card to work the way I wanted it to. If I used regular stickers it would've been too flat, it needed dimension. I stumbled upon this set of Paper House puffy stickers that were beyond perfect! I used two sets of them as my sentiment.

To complete this card that had seemingly come together on its own, I used some new enamel dots that I picked up from Michael's that perfectly matched the background paper. I couldn't be more content with the use of these supplies in making this card. I know it'll make my boyfriend very happy.

The last card was the one I was most excited to make. It is a brand new way to create shaker cards, fast and easy, or so I thought. This one gave me a few problems, which you won't see in the tutorial, since I edited that little bit out. My main problem with shaker cards is that the foam to create the shaker area never wants to stick to anything! I don't have a single glue that this foam likes. It absorbs liquid glues, the ATG runner doesn't stick well, but if you have any idea what glue is best to use with foam let me know!

Besides the small glue fiasco I had, this card still turned out elegant (besides how crooked it is). I love the gold foiling on the window as well as the sequin movement behind it. I decided to frame the shaker window with a rose patterned paper from Studio Calico's Hey Day collection.

I hope all of these fun Valentine's Day card ideas from your Project Life card stash are inspiring! If you have some ideas of your own, please share them with me in the comments below. I would absolutely love to check them out! Thanks for stopping by!


0 comments
Thanks for leaving a comment! I appreciate all feedback, suggestions, questions, and comments! Don't forget that you can find me on Instagram and Facebook to get more immediate feedback!
______________________________________
Compliance with the new European Union E-Privacy Regulation:
If you leave a comment on this blog, you do so with the knowledge that your name and blog link are visible to all who visit this blog, that you have published your own personal details and that you have consented for your personal information to be displayed.
This blog is currently made in the USA.