
VIDEO: Incorporating Memorabilia // 6x8 Pocket Page Insert - Receipts
January 14, 2017
Hello friends! This is another section in my travel album/incorporating memorabilia series! I see a lot of people struggle with incorporating memorabilia and mementos from their trips into their layouts and pages. I have this same struggle! I often think that it starts at the source which is the organization of mementos. Check out my video here on how to organize your photos and mementos for short trips! This page is part of that set of photos that I organize and this is one of the first examples of incorporating memorabilia that I'll show you!

I'm doing a 4x6 insert in my 6x8 album to mix it up a little bit. Plus, these photos aren't that big, so this 6 sector page protector divided into 2x2 squares adds interest to my mini album. I hope you enjoy this double page process video that shows one way to incorporate memorabilia!
The first page doesn't contain any memorabilia, but I thought you would all still love to see a process on this smaller scale. I have never worked with this 4x6 sized page protector, but I kind of loved it, but don't tell my 12x12 ;). I included three photos of signs we saw on our road trip and then three filler cards.

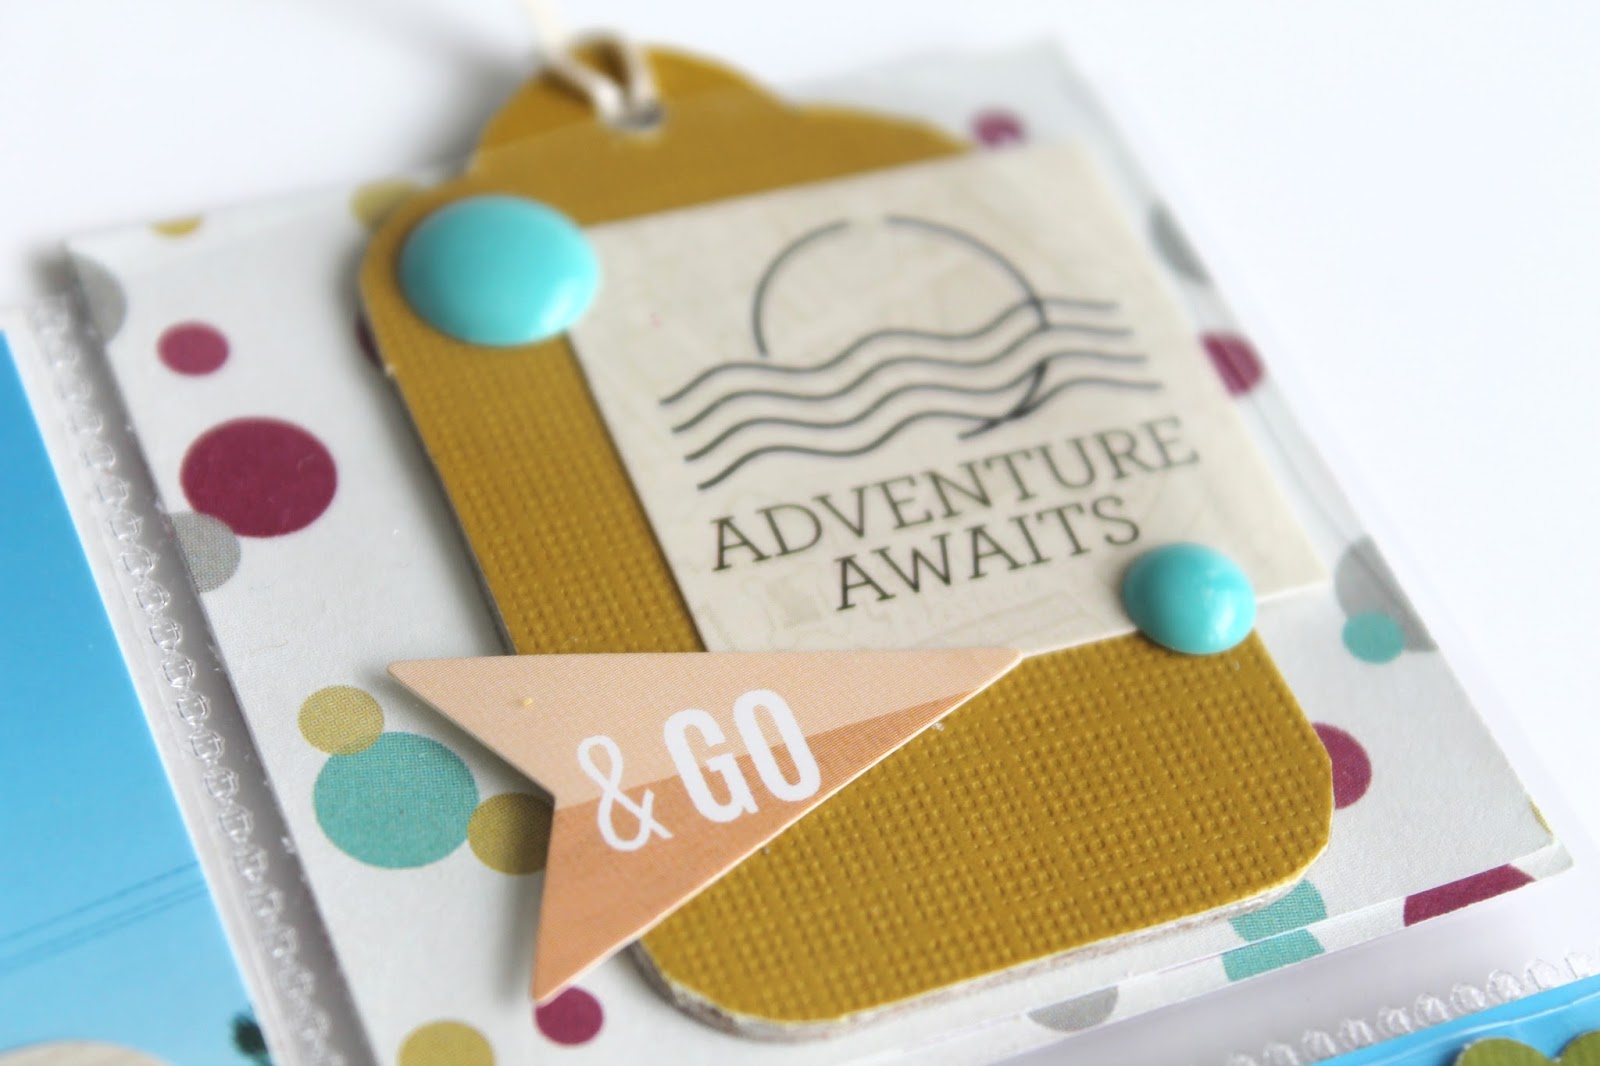
This little square may just be my absolute favorite. I have been dying to use this stencil from Echo Park that says adventure and I finally found the perfect use for it! I mixed my liquitex modeling paste with some mustard yellow acrylic paint to get this perfect color to match my color scheme. I used some pop dots to elevate this Heidi Swapp travel sticker. All of the cardstock used on these layouts is from DCWV's jewel tone paper stack.

I think it's safe to say that I have become addicted to this Heidi Swapp sticker booklet that I picked up from Michael's a few months back. I decorated most of the photos with little bits from the pack including these tiny word stickers! On the right photo I also punched a small heart out of some green cardstock using my Paper Studio punch.

The bottom two sections of this page are also really fun. On the left, I cut an October Afternoon die cut piece from the Cakewalk collection to create a small cluster. I used some enamel dots all across the page. The blues and greens are Paper Studio brand and the yellow ones are from Freckled Fawn. The right square is DCWV cardstock again, but I made this one into a journaling card. I used an October Afternoon label sticker and a Sassafras flower embellishment on this card. To add more detail, I used my fine tip black marker to create a doodled border around the edges.
The last pocket that I'll be focusing on for this page is what I would consider the color palate trend setter. The patterned paper here is how I determined my color palate. I pulled from all of the colors in this paper to help make the page cohesive. I used a super old chipboard tag and covered it with some cardstock. Then, I used more of the Heidi Swapp stickers to dress it up!

The second page incorporate memorabilia in a small way. We went to my first IKEA during our trip and I save part of our receipt! I decided that even though this will fade in a few decades, it would be nice to include. I also really enjoy doing this split image for pocket pages.

I cut down my receipt to the 2x2 size of the pocket. I knew that I wanted to have room for embellishments on it as well. I used an Elle's Studio banner piece to give some ground for my pieces. I decided that instead of journaling on this pocket, I would do it elsewhere. I used some new stamps from the Sweet Stamp Shop to describe the emotion of going to IKEA. Plus, theses little rams are super cute!

Since there was a lot of writing in the top right, I decided the left would be simple. I used some paper from My Mind's Eye again to create a background. Then, I used another Heidi Swapp sticker from the travel booklet. I also pulled out some super old American Crafts remarks sticker books and found this stitching sticker that I cut in half to use on the top and bottom of the sticker piece. I added another doodled border around the edge of this card.

The last two sections are pretty simple. On the left, I used more My Minds Eye paper, a flower paper punch, and a Freckled Fawn flair piece. On the right, I used more DCWV cardstock, some Michael's washi tape, and a die cut piece from a Shimelle collection. That's it for this double page tutorial incorporating memorabilia! I hope you enjoyed this and be sure to follow my blog for more! Thanks for stopping by!
Supplies:
Shop through Blitsy! http://blitsy.com/ref/z3m57
Shop Simon Says Stamp!
Shop through Tupelo Designs LLC! http://i.refs.cc/H3vCMoVA 


0 comments
Thanks for leaving a comment! I appreciate all feedback, suggestions, questions, and comments! Don't forget that you can find me on Instagram and Facebook to get more immediate feedback!
______________________________________
Compliance with the new European Union E-Privacy Regulation:
If you leave a comment on this blog, you do so with the knowledge that your name and blog link are visible to all who visit this blog, that you have published your own personal details and that you have consented for your personal information to be displayed.
This blog is currently made in the USA.